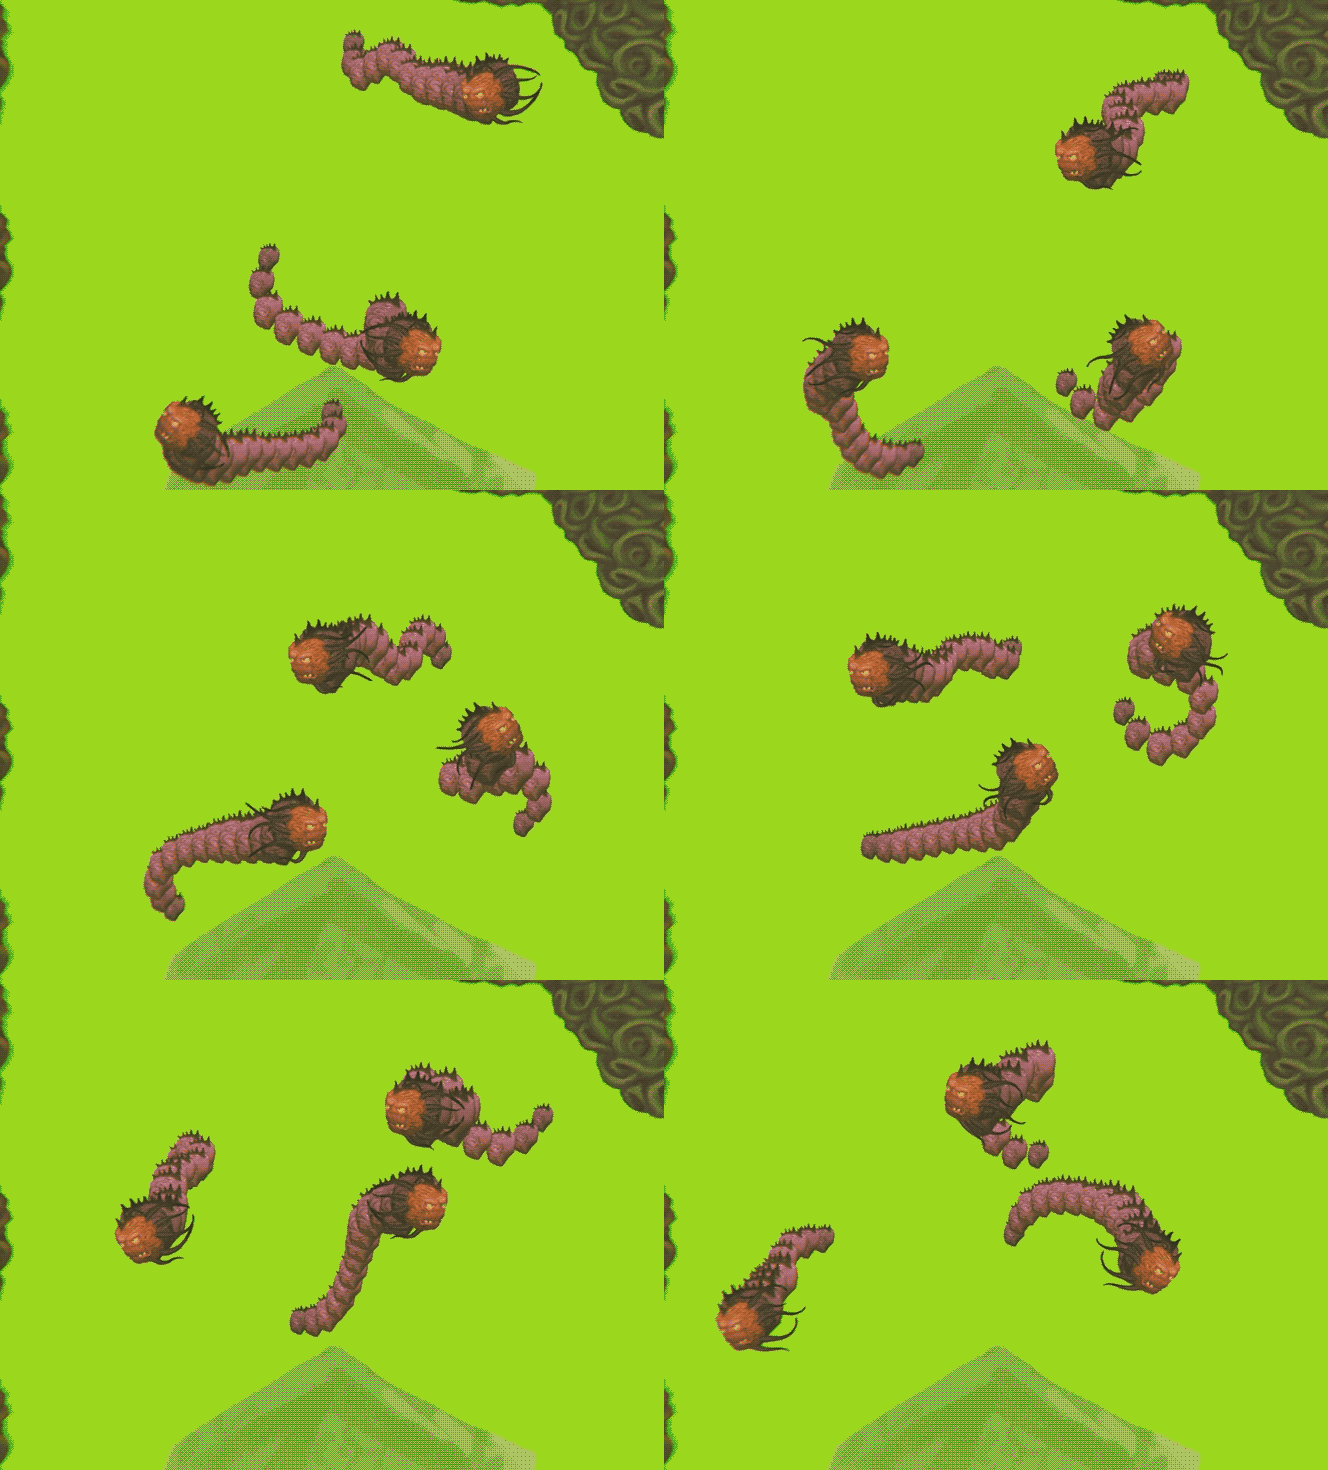
Serpent Tail Script Demo
Recently I cooked up a little script to drive serpent like tails for my game that I could use in a few different ways. Over time, it’s worked out pretty well and a few people have asked about how I approached this task. So here it is!
First off, this demo specifically deals with how the script moves an individual piece. It does not cover how it gets hooked up and when it gets activated. The short version is that each piece with this script needs to target the previous and then be activated in sequence. Here we go!
For those who don’t know, this project is being built in Unity. By default “using UnityEngine” is added at the top to include unity specific functions and variables such as Vectors, Transforms, and Rigid Bodies.
Below that, the class is defined and I’ve created a list of variables to store information which we could use in the execution and also allow some customization for varied results.
I tend to prefer making things automatic when possible. Especially with a script like this where it might get used on many objects at the same time. Since the Start function runs once when the code starts running, it’s a great time to check for features and set some starter values. In this case, if a RigidBody is present it gets plugged in, and if not there’s a lighter version of the code that runs instead.
Instead of running the code automatically in FixedUpdate(), the rest of this script is wrapped in a function called MovePart() and made accessible to other scripts. This allows me to later get each instance in sequence and fire them off in order.
The first thing I do is update the anchor position to the objects center. Doing this regardless of a valid target is important because the base of the tail will have no target, but still needs to update its anchor.
This might get a bit confusing as you read on… but I’ll be temporarily reusing the anchor variable to store the objects local position while the script works its magic.
Depending on the desired effect, having a maximum distance is nice to have. This will make it so that if the object gets too far from its target it will get warped to the farthest allowed point between where it was and the target anchor.
Note that “.normalized” is used on the vector created when subtracting the position from the destination (target.anchor - anchor). This shortens or lengthens the vector so that it’s length is one, allowing us to multiply by our distance variable and come up with a position that is exactly that many units from the target.
From here since we are still in the RigidBody part of the script we get our direction similar to last time (this time we store it for later use) and then we use it to apply a physical force to the object. This concludes the section that handle RigidBody physics.
If a RigidBody was not detected, we use this simpler code instead. In this case we are referencing the previous position because if the object is parented, it could be moved by it’s parent object. When that happens the movement can become erratic because it’s being moved by two systems that don’t really agree. This calculation is also set up to update this new position as the previous position so that the process repeats.
At this point we are done moving the object and we don’t need to store the current location any more. Instead we set anchor to be behind the object at the distance set by the user.
That’s all there is to it! Again, this piece of code moves one object toward a target that has the same piece of code on it while creating an appropriate target for the following object. You’ll need more code to actually assign targets in the first place and tell it when to run.
For those of you wondering what good there is in using the RigidBodies, the example below shows some of the variation you can get from adjusting public values in this script as well as in the RigidBodies themselves.
Below is the script in it’s entirety so you can better see how it's arranged. If you think it’s great feel free to use it. If not, I’d love to get your feedback. Thanks!


